Week 1 | 1st August, 2019 | Sonia Gehlot
Introduction to Space and Materiality
In the first space and materiality class, we were introduced to the equipment in the machine room along with their safety features. We were taught to handle the machine and told about the precautions to consider when working with the machines. We also learned about the different tools to use with different materials such as aluminium, copper, styrofoam, wood, etc.
There are two kinds of materials in this world: Engineered and Natural.
Understanding the use of different materials
Today, in class, we learned about different types of materials and their applications in the real world. Why can’t we make clothes out of glass? Or out of paper? What drives people to opt for certain materials when making their products than others?
An example of a useful material that we discussed today was leather. Leather is used to make shoes, bags, jackets, and plenty of other things. We learned that people put a significant amount of thought behind the products that they make. If it is a leather jacket, it can be impervious to water and even warm you in the cold weather, which is why certain people may opt to wear a leather jacket where it is often cold and rainy. Like leather, engineers and artists use different materials to craft different products appropriate enough to put to use.
Natural Material refers to any product that comes from the ground, animals, plants or the earth. Natural materials are often used for building other materials and manufacturing clothes. Examples of natural materials are:
-Copper
-Wood
-Natural Textiles
-Cotton
-Clay
Engineered Material refers to materials that are not naturally given to us by the earth. They are artificially made. Below are some examples of engineered materials:
– Glass
-Plywood
-Monel
-Plastic
-Paper
Homework:
To understand how to differentiate between engineered and natural materials and their properties, we were given a task to differentiate between the two on a mount-board, classifying each side as either natural or engineered and putting the physical material on the board itself.

Week 2 | August 8th, 2019 | Sonia Gehlot
In week 2 of Space and Materiality, we reviewed natural and engineered materials and got feedback for our mount-boards. After that, we were introduced to our new assignment which revolved around the making of coasters. We had to make designs for our coasters, below are my two initial designs:
- Sunflower design: I wanted to stray away from the normative square shaped design for coasters and explore different styles and designs instead and be more creative.
- 2. Butterfly design
For my second coaster design, I chose to make a butterfly design.
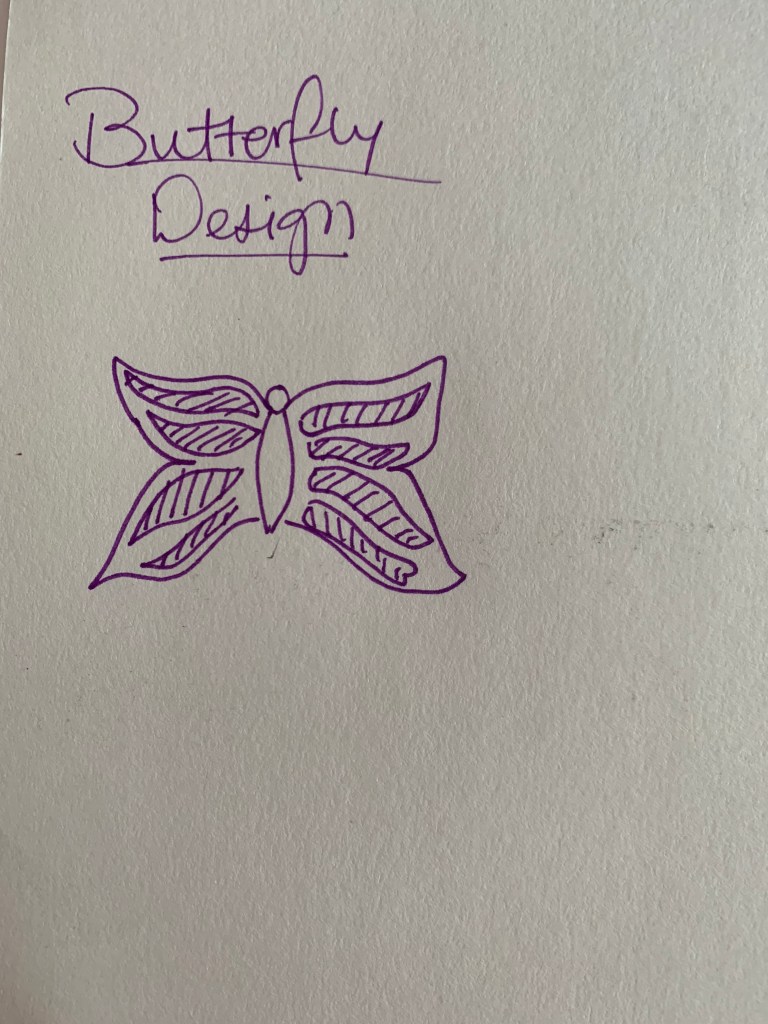
The stripes in the wings of the butterfly signify empty spots 
Today, I got a hands-on experience with all the machines in the machine room. It was an exciting, a fun, and an educational experience. Despite the several complexities of the machines, I found them really easy to use after a couple of tries.
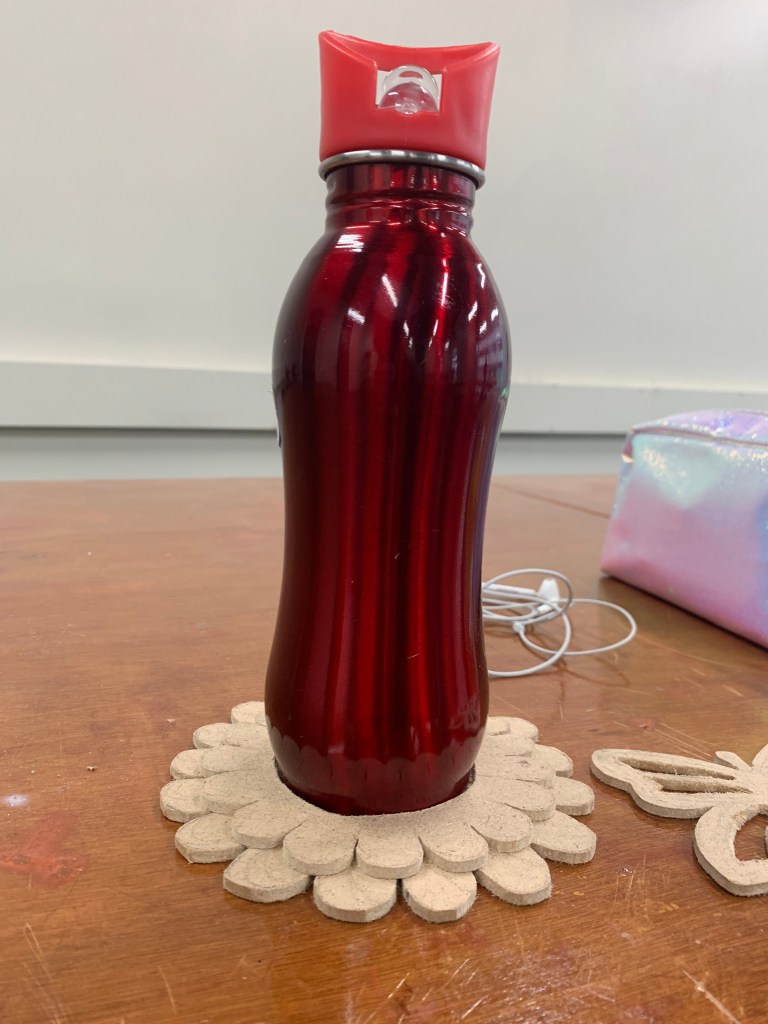
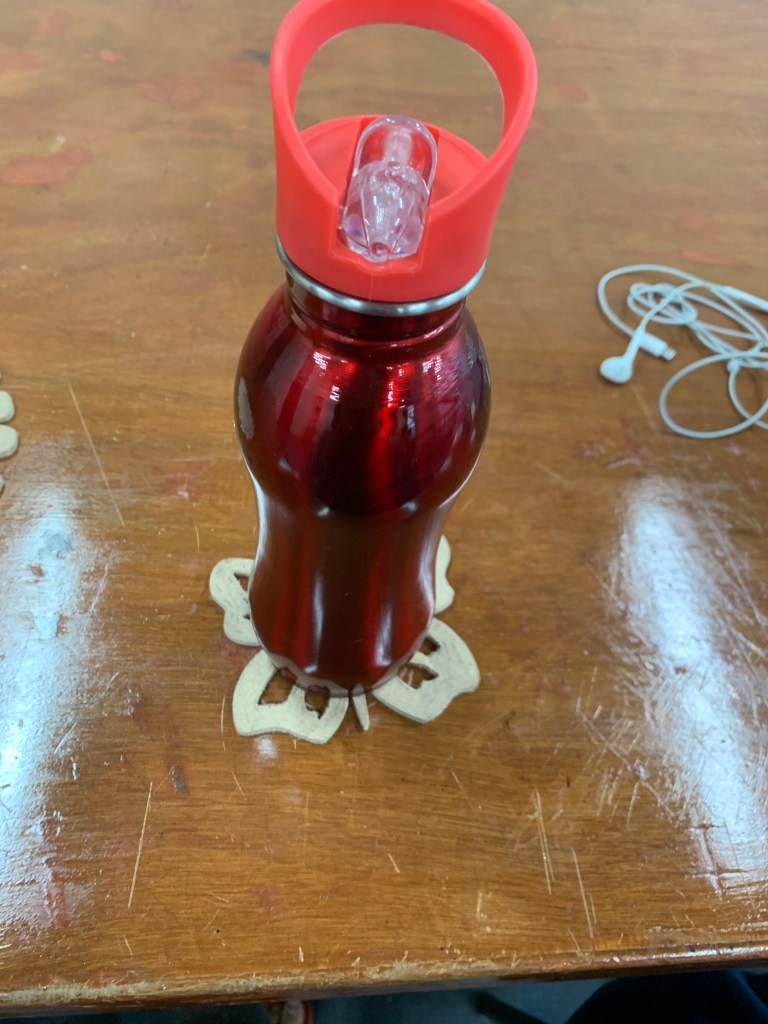
Because I had more time to finish my coasters, I decided to make a new design which consisted of a palm like coaster which would make it look like the palm was holding the bottle/glass/ jar that was placed in it. These are how my final coasters looked:


Since we dove right into making our coasters, I had to accustom myself to the machines very quickly too. I learned about how some machines smoothen the textures, whereas some thicken and roughen the plywood (the material I used to create my coasters).
These are how my final two coasters turned out. I’m quite happy with the result, however if I were to do it all over again, I would probably add more detail to the butterfly wings add more texture to the flower petals, because I think they look too plain. I would also be more accurate with my cutting, because since this was my first time working in the the machine room, I found it quite hard to be precise while using the machines. However, with patience and help from the staff, I managed to get my angles and cuts in the appropriate places.
Week 3 | August 15th, 2019
Despite having a holiday for our Space and Materiality class this week, I came in before and after classes to complete my coasters. I got more and more comfortable with the machines and the equipment in the machine room the more I got to use them. In the previous week’s post, I have displayed all of my coasters.


Week 4 | August 22, 2019 | Sonia Gehlot
This week, we were taught about different grips. Our hands are accustomed to holding different objects in different ways depending on their size, texture and built. We then explored how these grips would look from different angles. We were told to take pictures of our hands holding different objects and take pictures of us holding that object from different angles. Then, we drew these different angles. These were the grips that I did in class of me holding a pen and cutter:
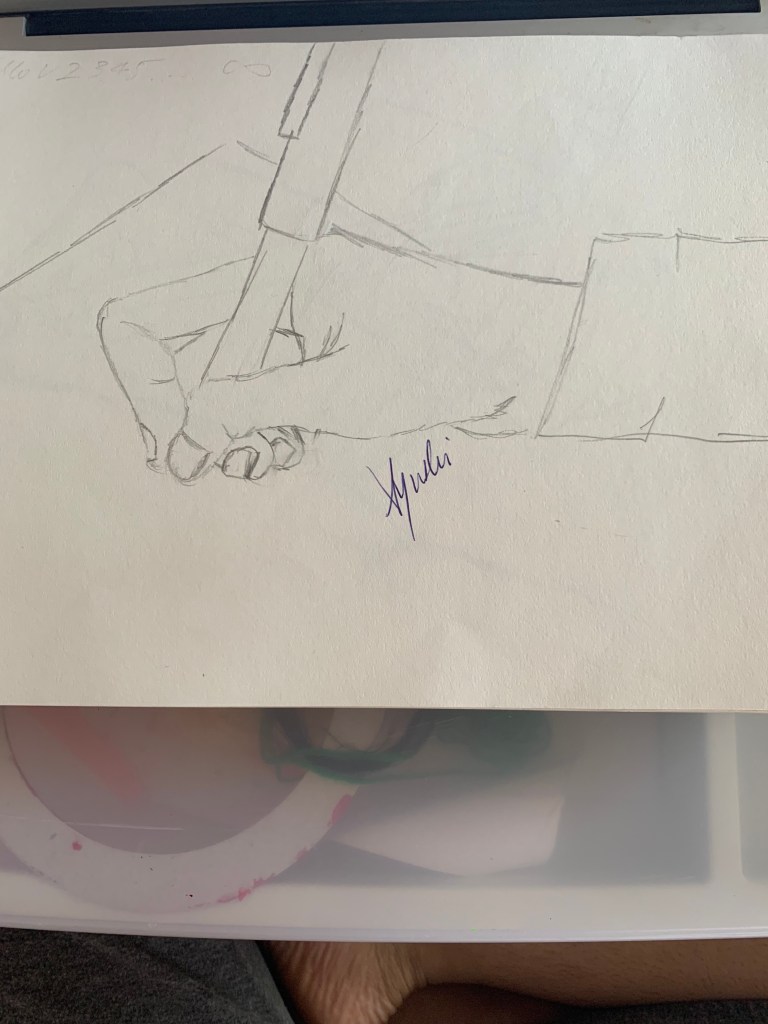


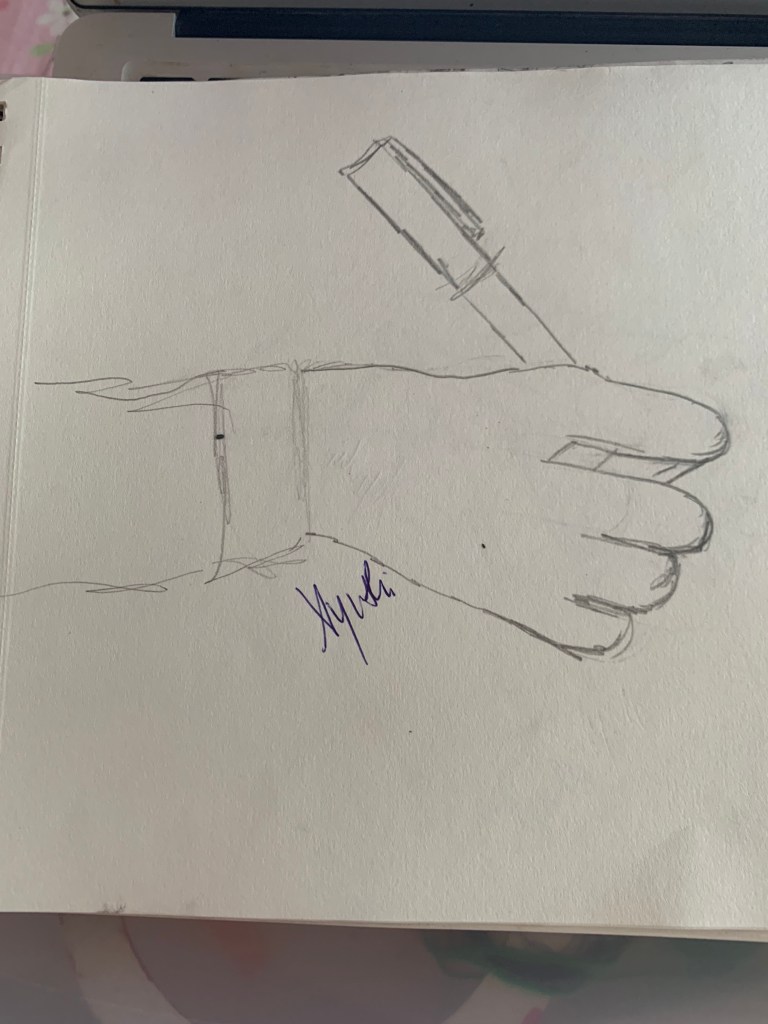
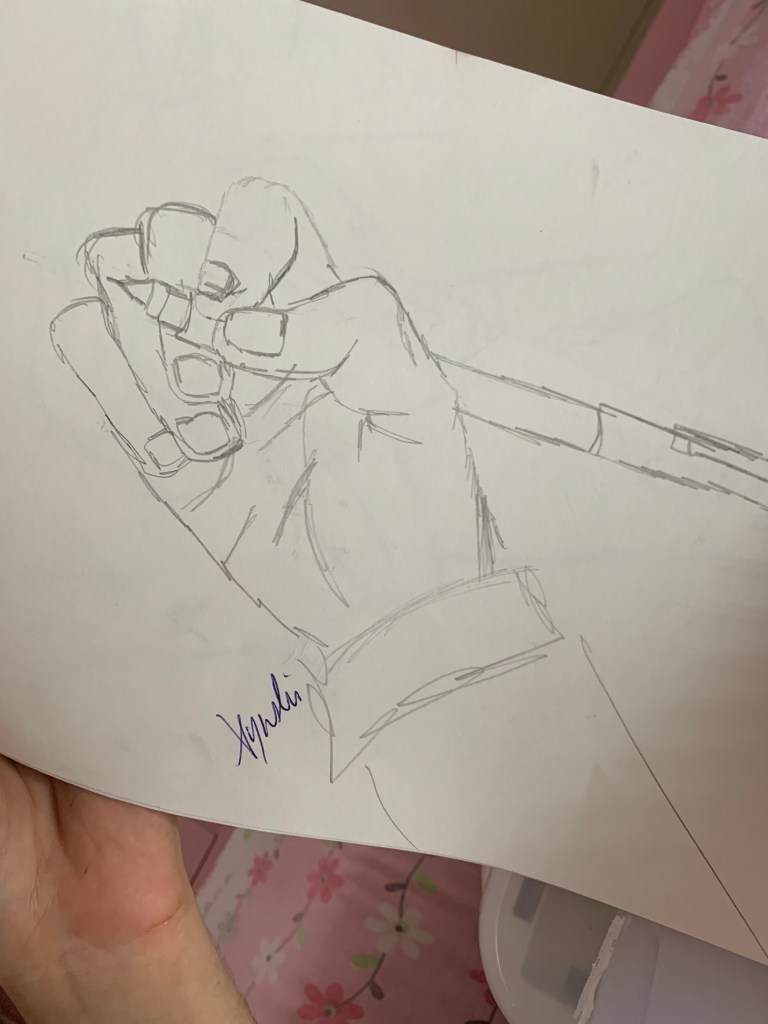


This exercise taught me how to take a step back and notice.
I noticed how one grip from different angles gives the viewer the same depiction and idea of how exactly the grip could look in reality. These grips not only helped me understand the objects, but also made me understand the object in relation to my hand. Another person’s hand would long different even if the grip is the same, and another’s hand would make the object in their grip look different.
Although I found it quite interesting to draw these grips from different angles, and it was quite easy for me to recreate the grips from different angles. I did, however, struggle with proportions and the different lengths of my fingers and how to make them not look distorted and disproportionate.
Week 5 | 29th August | Sonia Gehlot
As we got introduced to abstraction this week, I learned how abstraction over the years and centuries has changed in several ways. It changed the art world forever, and paved a new path for artists to express themselves. I learned how artist such as Salvador Dali, Vincent Van Gogh, Pablo Picasso use several different abstract art forms such as surrealism, impressionism and cubism to express themselves.
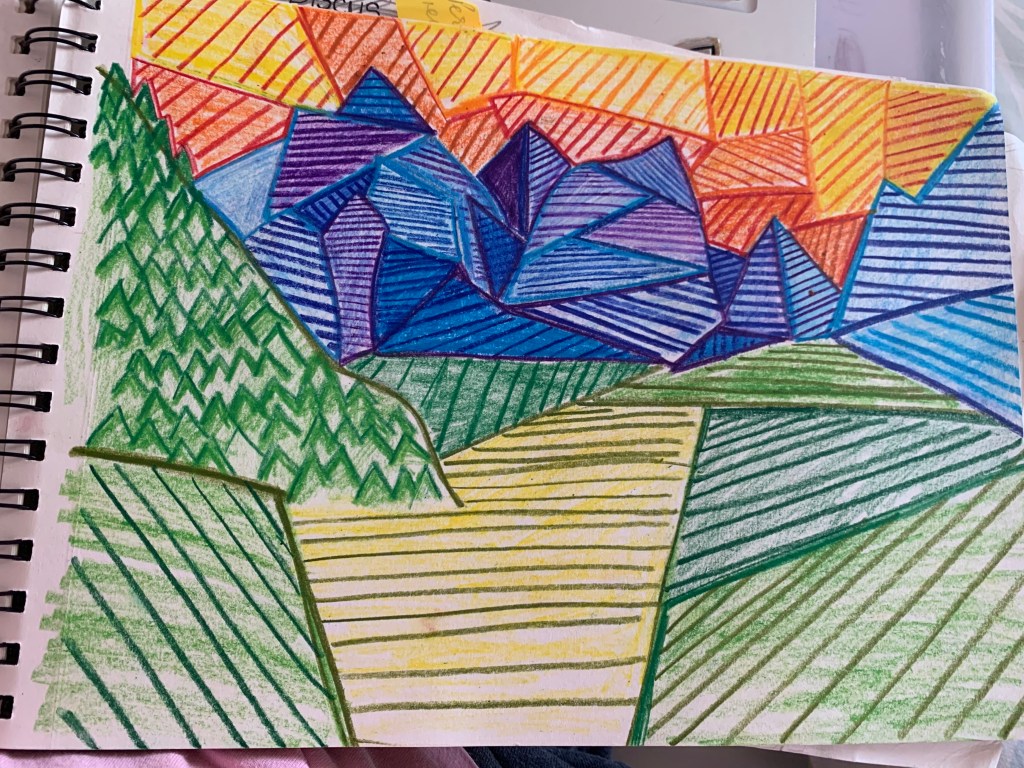
To gauge a better understanding of abstract art, we created a depiction of our favorite childhood memory using basic shapes. As a child, I traveled to Switzerland a lot and remember riding around in a train and seeing the ice capped mountains and green fields as the sun set gradually. This was my very first memory as a child and so I decided to draw it using colour pencils.
Furthermore, we began visualising our hand grips into abstract grips. I learned how to put myself in an abstract artist’s shoes and broaden my imagination in order to create a unique grip. The grip that I chose to replicate one that could hold a hanger for clothes.
I learned how to stray away from the typical hand gesture and be more creative with my grip by thinking of mimicking the same grip in different ways. Like this one:
Week 6 | 29th August 2019 | Sonia Gehlot
As we began exploring different ways in which we could portray hand grips, I got to finally create my first prototype after my technical drawing. I was quite content with my grip because I gave it a stable base and creative structure which did not in an way look like a hand.
The materials I planned on using were wood and LED lights. Below is the technical drawing of my hand grip.

In the workshop, I got to explore with several different machines and had a lot of trial and errors when creating my grip. Sometimes, the size were too small, the base was unstable, or the hook too heavy. In the end, although, I managed to create a proper design and prototype.
Week 7 | 19th September, 2019 | Sonia Gehlot
As we started making our final 3D hand grip, I noticed how wood as a material can be pretty sturdy to use, therefore, instead of using clay and wire (what I used for my prototype) I used wood, this would guarantee a more sturdy and strong grip. To add color and bring out the grip more, I decided to line it with coloured LED lights.


Week 8 | 26th September, 2019 | Sonia Gehlot
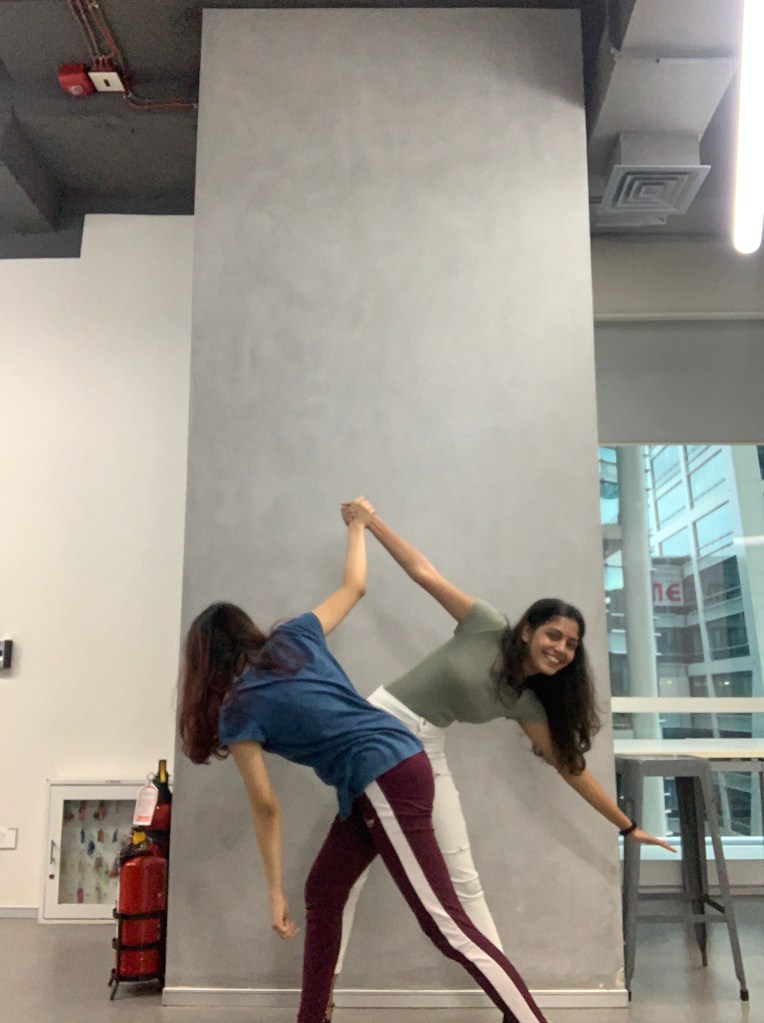
In the eighth week, I learned about the term “Interspaces”. This term means the space between two entities and the connection between them. We were then introduced to our next topic which revolved around this particular idea. In order to explore this concept, we thought of mimicking dance moves, yoga poses and a lot of creative poses to come up with creative ways to portray our final 3D product which connects two things.
The first position we finalised was an Indian folk dance called “Fugdi”.

We chose this position because not only is it really creative, but it also celebrates the Indian folk dance and the beauty of its unique dance moves.

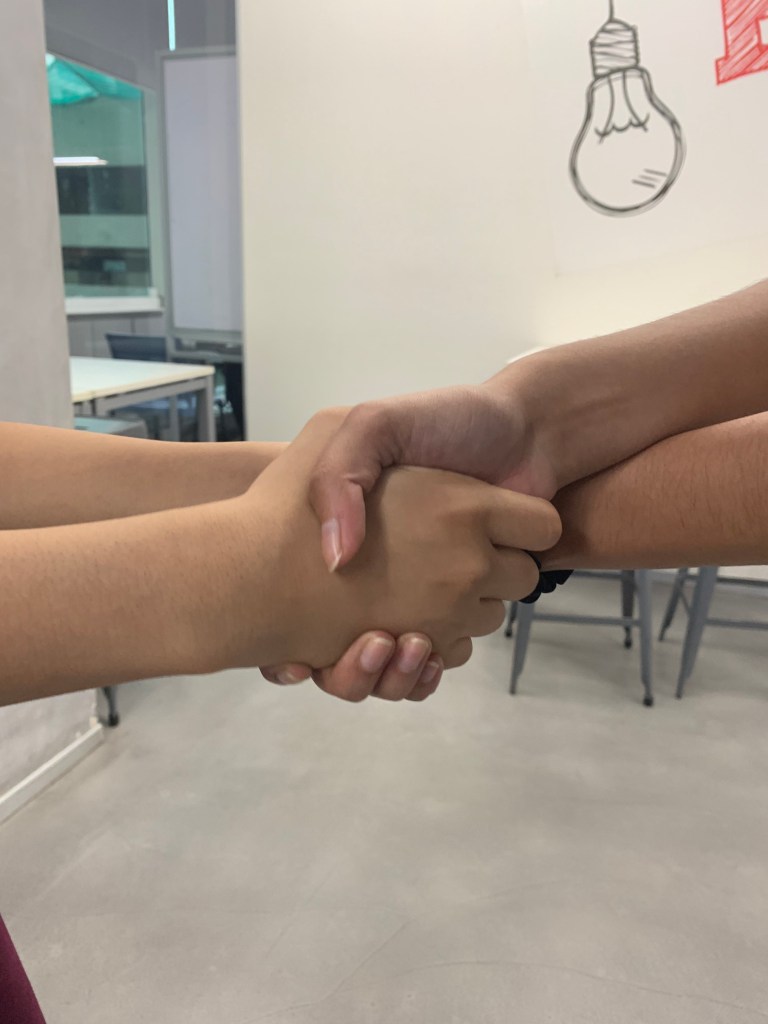
Above are the grips we chose to explore in this unit. We also chose a yoga pose to mimic, we took the position of our hands and the relationship between our legs into consideration for the grip.
A close up of the grip:


